How to properly install FreeHdBoot
This written tutorial was made to aid you on the procedure to properly format the ps2 HDD and install FreeHdBoot
First of all:
important notes:
This tutorial will guide you on the format and install procedure assuming that you don’t have access to any application launching utility.If you posses a method to launch wLaunchELF on your own, start from this step and Don’t download the software requirements marked in red
Requirements
Hardware
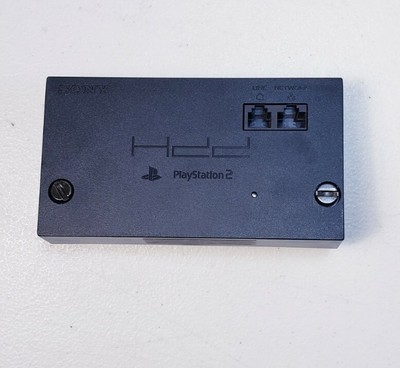
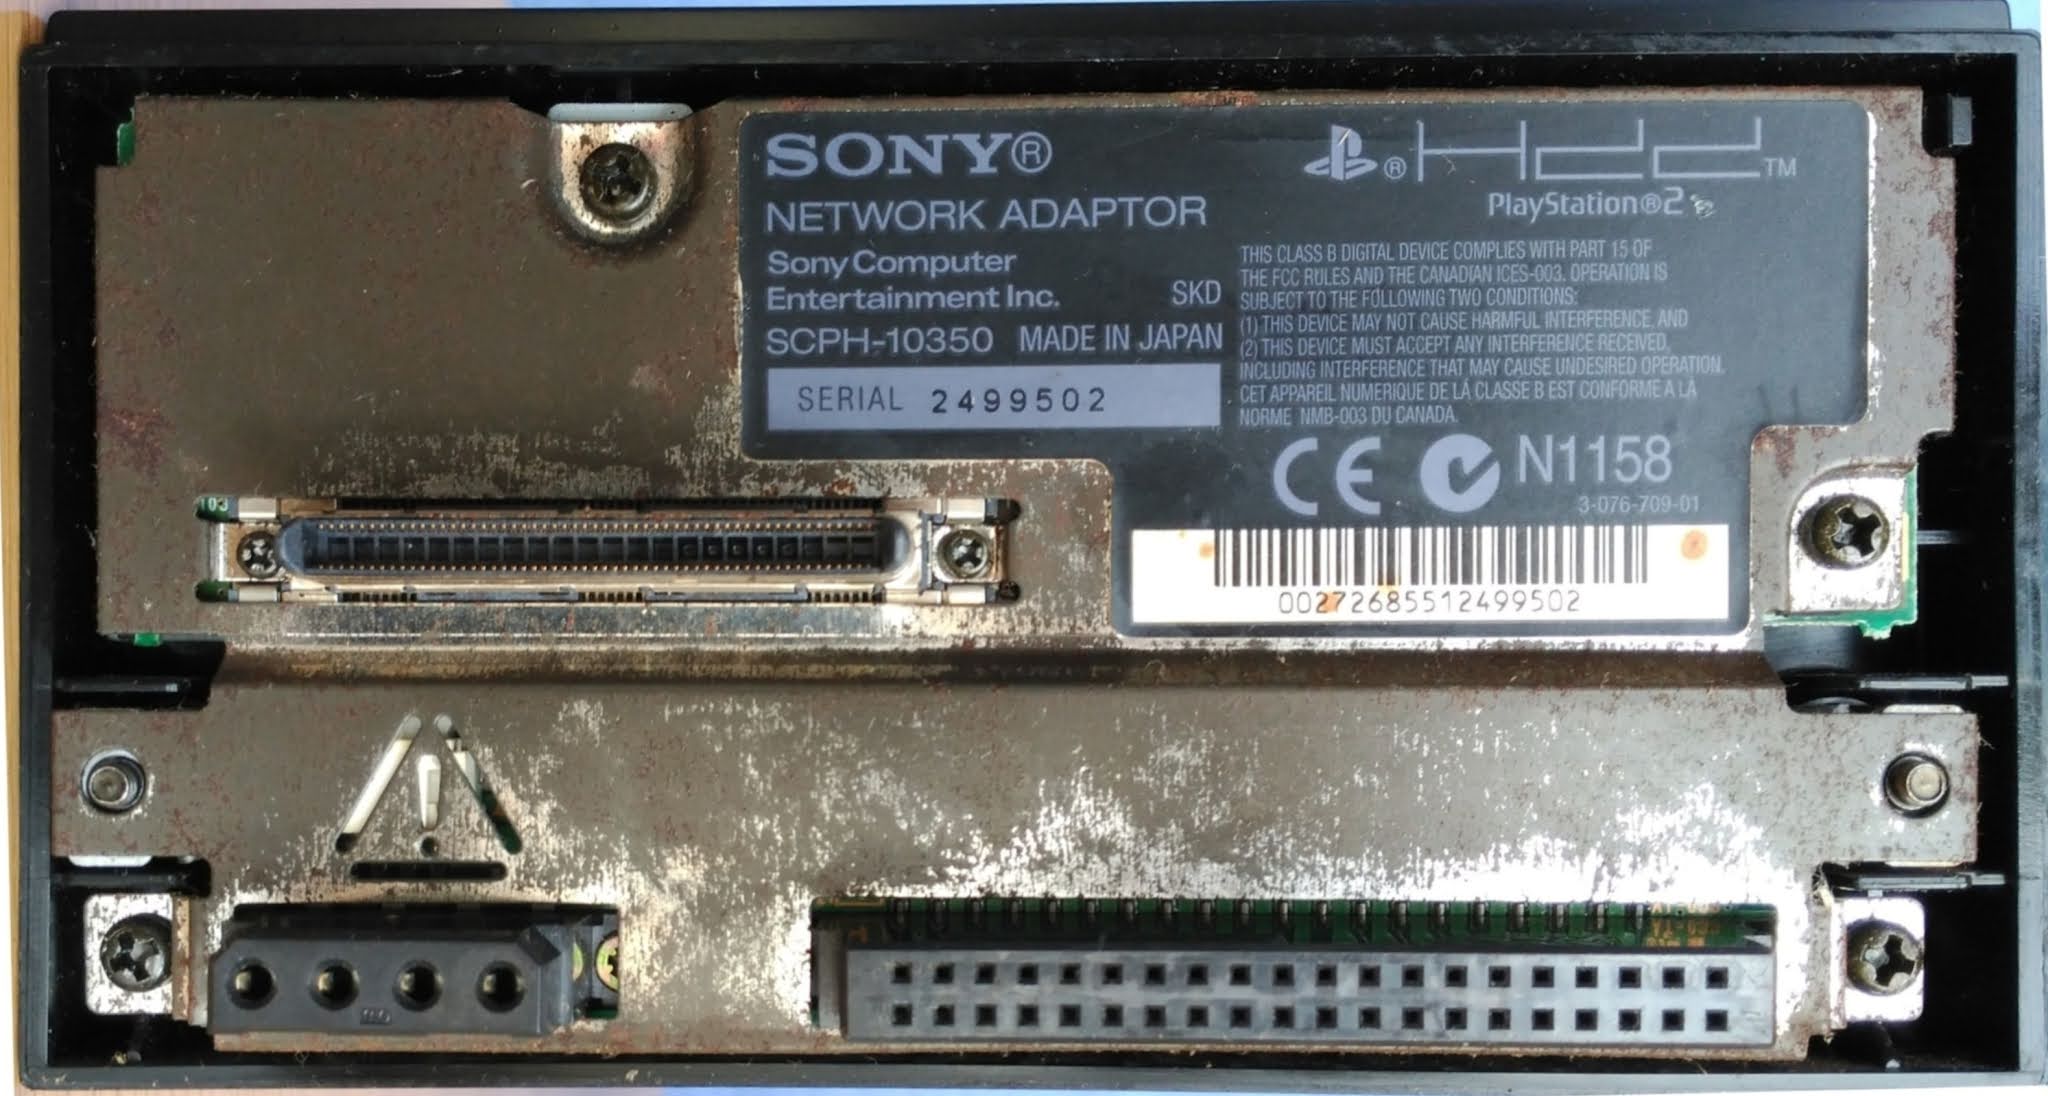
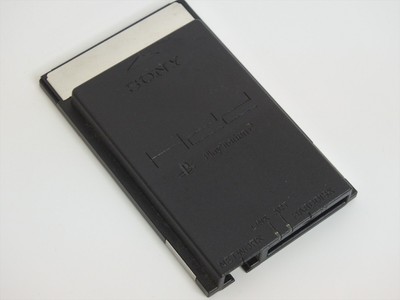
- PS2 Network adapter
- for expansion bay models
SCPH-3xxxxorSCPH-5xxxxthe adapters areSCPH-10281orSCPH-10350- (generic adapters usage is discouraged due to their poor design) - for PCMCIA models
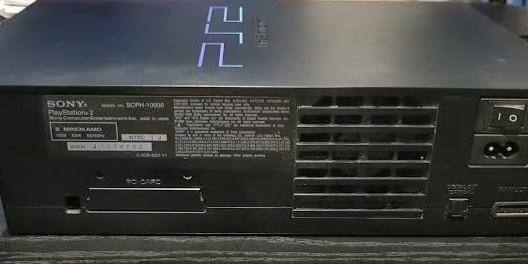
SCPH-1X000the needed parts are(SCPH-20400+SCPH-10190+SCPH-10200) you can also search for the full kit (eitherSCPH-10210orSCPH-10390)
- for expansion bay models
- Hard-Drive with a size between 40gb and 2Tb
- USB storage device formatted into FAT32 (free space is not that inportant, 50mb free should suffice)
Software
- Paste into the USB:
- FreeMcBoot/FreeHdBoot installer (DONT FORGET TO UNZIP THE FILE)
- wLaunchELF 4.43x_isr Download
- Download into your PC:
- HDL Batch installer (Not used in this tutorial, however, it's the recommended tool to install games)
Installation
Setup the entry point
This HDD image won’t work on PCMCIA models (SCPH-1x000) or pre-deckard slims (SCPH-70XXX) because those units can’t load HDD software autonomously
If you still want to use FreeHdBoot or HDD-OSD on the models mentioned before, take a look at this
Use FreeMcBoot as an alternative
There is a small chance that this HDD image won’t work the first time on expansion bay models.
For those models, the HDD software execution is controlled by a configuration on the console EEPROM.
If the image doesn’t Boot or HDD starts to power on and off in an endless loop, it means the HDD software execution is disabled, find a alternative method (FreeMcBoot or Freedvdboot)
Don’t worry, FreeMcBoot installer will enable the HDD software execution when FreeHdBoot installation finishes
We are assuming that you don't have access to uLaunchELF.
So we will load a small image of uLaunchELF KHN into the HDD, that should grant access to the wLaunchELF mod that will be used to begin the setup
Using HDD raw copy tool, write the __mbr.raw file into the desired HDD.
Proceed to the PS2
Disconnect the console form the power source (or use the switch on the back)
Plug the HDD to the console and the USB device into one of the USB ports
Connect the console back to he power source (or use the switch from the back again)
Turn on the console, the HDD should be powered on.
In less than 1 minute, you should see wLaunchELF KHN menu (it looks like this)
Format the HDD
Now that you are in uLaunchELF, enter the filebrowser option.
Then navigate to the mass:/ device (this is the USB device you plugged before)
Now try to locate the uLaunchELF ELF file that you downloaded before and open it (it should load a new uLaunchELF menú with a different color scheme like seen in this video)
When it opens up, open filebrowser again.
This time navigate to MISC/ and open the HDDManager subprogram.
After a few seconds, a new menú should appear, showing information about the HDD unit.
Press R1 and choose the option Format
After formatting (that takes aproximately 1 minute) the partition list should reload, showing the default partition structure:
__mbr
__net
__sysconf
__system
__common
Now press R1 again, this time choose the Create option
A keyboard should appear, write +OPL (ALL UPPERCASE), And hit ok.
After that a new dialog will appear, asking you to input partition size.
Choose 768 if your HDD size is smaller than 750gb
If it's larger than 750gb, choose 1024 or 1536
Now press ok, the partition table should reload, showing the new +OPL partition at the end of the list
Now press triangle, you should go back to the first menú.
Installing FreeHdBoot
Open filebrowser again.
Navigate to mass:/ and locate the FreeMcBoot installer folder.
Enter inside it and open the FMCBinstaller.ELF file
Wait untill the menú loads, then press R1 and choose Install FHDB
If it finished without errors then good job!
The HDD is ready to receive games.
And the FreeHdBoot installer automatically loaded wLaunchELF and OPL into the HDD.
The only thing left to do is configure OPL and install games from the PC